When it comes to car maintenance, detailing the interior often gets overlooked. However, cleaning the inside of your car is just as important as keeping the exterior shiny and spotless. Detailing your car’s interior not only enhances its appearance but also improves the overall driving experience by ensuring a cleaner, more comfortable space. In this step-by-step guide, we’ll walk you through how to detail your car interior like a pro, and help you understand what tools and products you’ll need for the job.
If you’re wondering how to detail car interior yourself, you’re in the right place. Whether you’re a first-time DIY detailer or someone who wants to maintain a pristine car, we’ll break down the process in simple, easy-to-follow steps.
Step 1: Gather Your Cleaning Supplies
Before you dive into the process of detailing, you’ll need to make sure you have the right tools and supplies. Here’s a list of essential items:
- Vacuum Cleaner (preferably with attachments)
- Microfiber Cloths (multiple for different surfaces)
- Brushes (for vents, seams, and carpets)
- Car Interior Cleaner or All-purpose cleaner
- Leather or Upholstery Cleaner (depending on your car’s interior)
- Glass Cleaner
- Protectant (to protect surfaces after cleaning)
- Steam Cleaner (optional, but useful for deep cleaning)
- Air Fresheners (optional)
With your tools at hand, it’s time to get started. Keep in mind that Car Interior Detailing is a thorough process, and rushing through it can result in an unfinished job.
Step 2: Start by Vacuuming
The first step in how to detail a car interior is vacuuming. This might sound simple, but vacuuming is critical to the overall detailing process. Start by removing all the floor mats from your car. Then, using your vacuum cleaner with the appropriate attachments, begin vacuuming the seats, carpets, and floor. Make sure to get into all the nooks and crannies, including between the seats and under them.
Next, vacuum the dashboard, door panels, and any other areas where dirt and dust accumulate. Use a soft brush attachment for delicate areas like air vents, knobs, and seams to avoid damaging the surfaces. Take your time to ensure that every inch of the interior is free from debris.
Step 3: Clean the Dashboard and Console
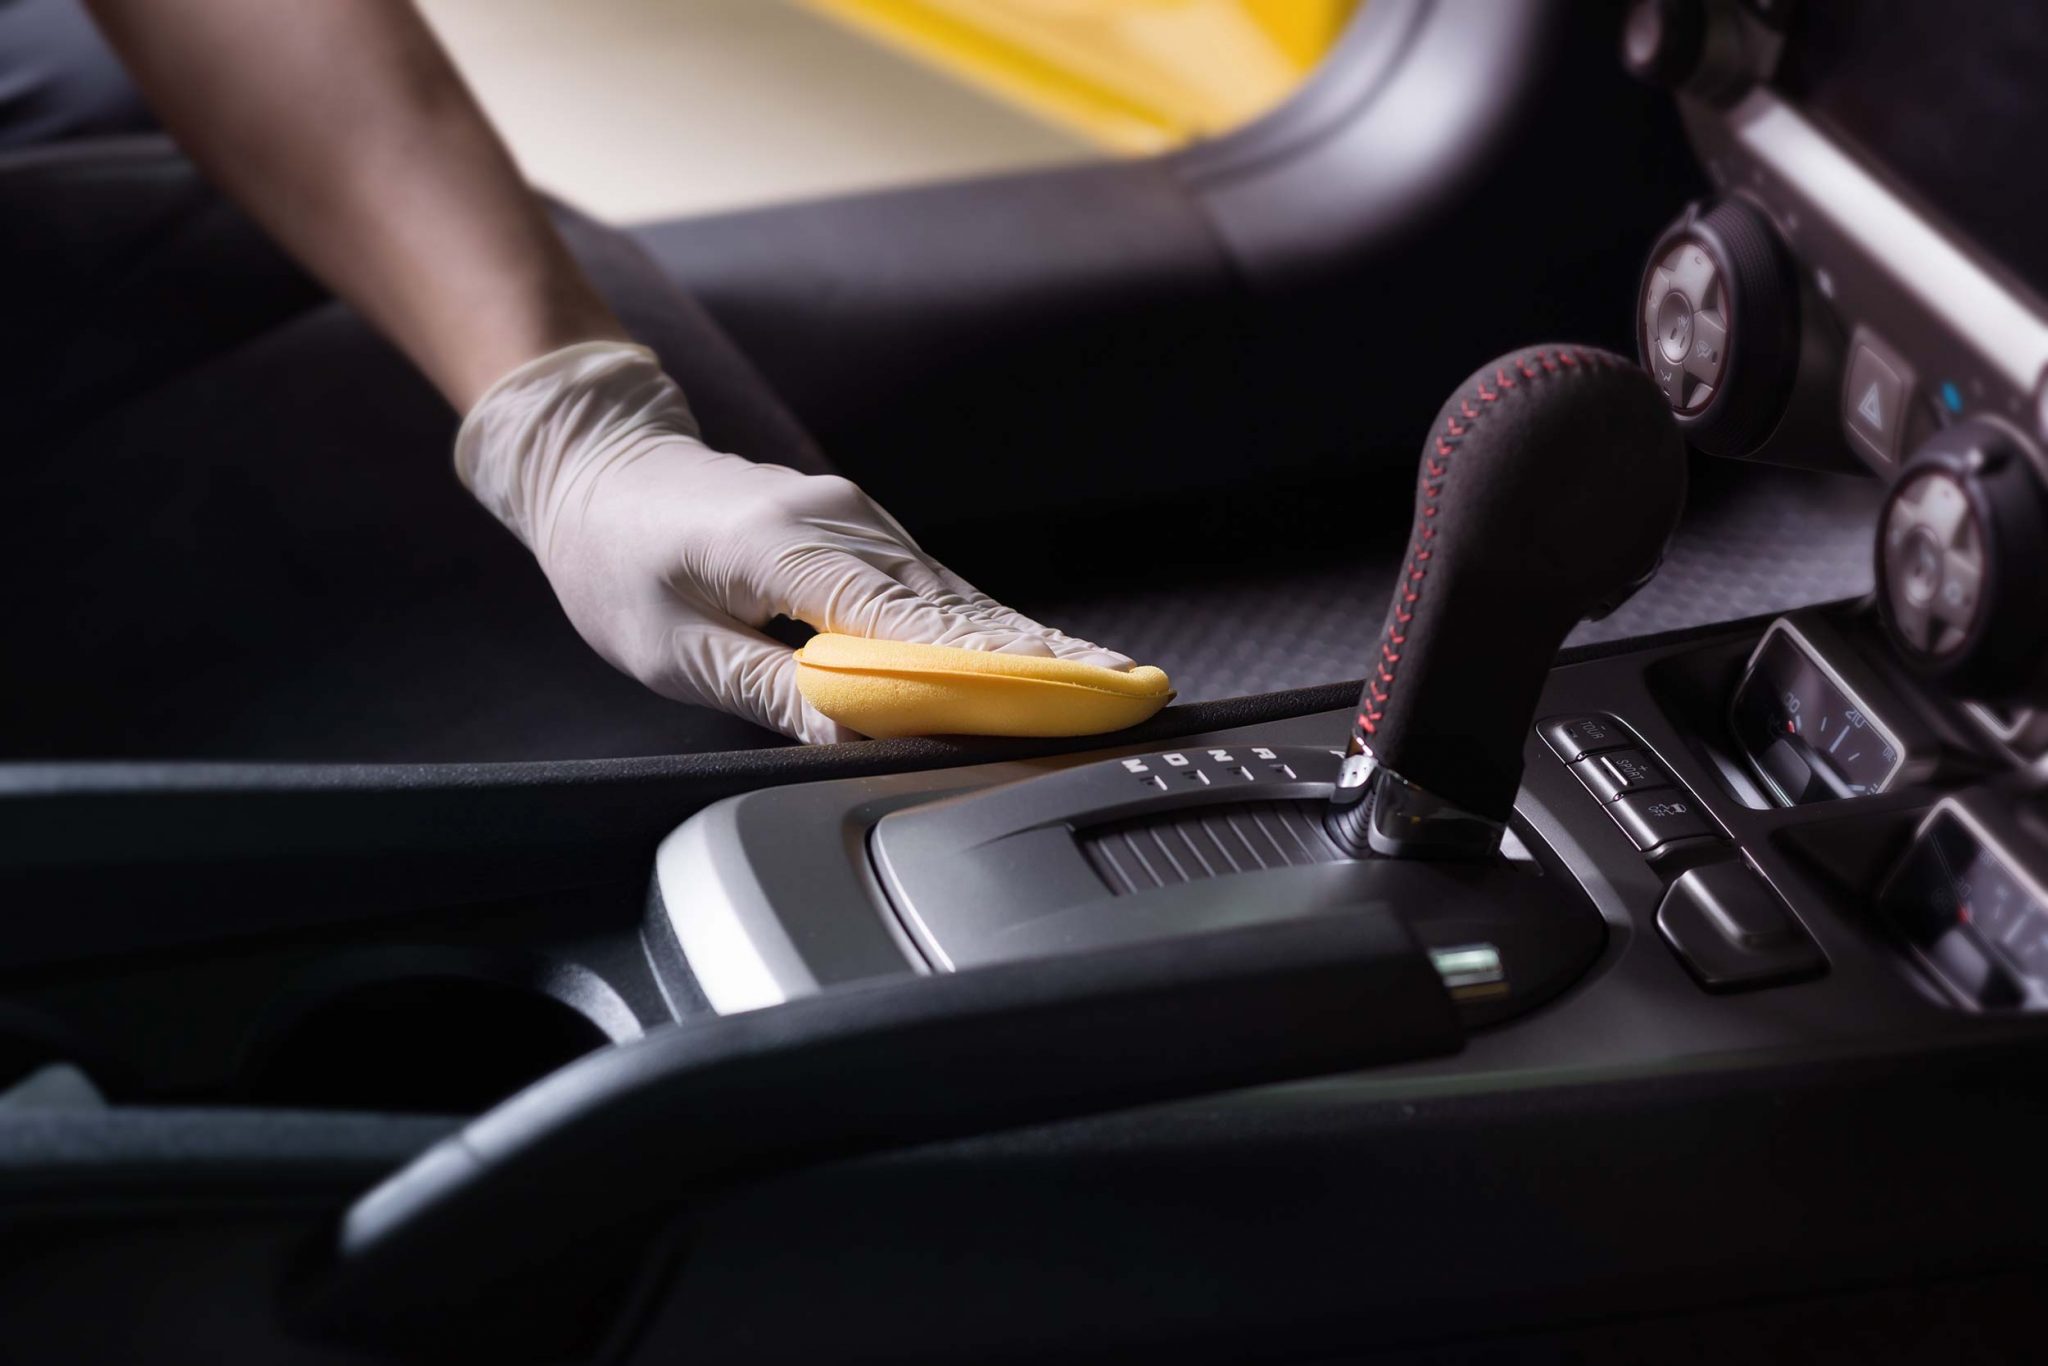
Once your car is thoroughly vacuumed, it’s time to clean the dashboard and center console. For most cars, a gentle cleaner or an all-purpose cleaner works well. Apply the cleaner to a microfiber cloth and wipe down the dashboard, steering wheel, and all surrounding surfaces. Be sure to wipe in a circular motion to avoid streaks, and pay attention to small details like the area around the radio, buttons, and cup holders.
If you have leather seats or a leather-wrapped steering wheel, use a cleaner specifically designed for leather. Make sure to follow the manufacturer’s instructions for best results.
Step 4: Clean the Seats
Whether you have leather, cloth, or vinyl seats, the process of cleaning them is different. For cloth seats, you can use a fabric cleaner or a specialized upholstery cleaner. Spray the cleaner on the seats and scrub gently using a soft-bristled brush or sponge. For stubborn stains, you may need to let the cleaner sit for a few minutes before wiping it off.
For leather seats, apply a leather cleaner to a microfiber cloth and gently wipe down the surface. Be careful not to oversaturate the leather, and always finish with a leather conditioner to keep the material supple and prevent cracking.
Vinyl seats can be cleaned with an all-purpose cleaner or a dedicated vinyl cleaner. After cleaning, use a protectant to help maintain the vinyl and prevent future damage from UV rays.
Step 5: Clean the Windows and Mirrors
Your car’s interior windows and mirrors can accumulate grime and smudges over time, so it’s essential to clean them properly. Use a glass cleaner and a microfiber cloth to wipe down the interior of all the windows, including the windshield, side windows, and rearview mirror. For hard-to-reach areas, you can use a foam applicator or a soft brush.
Tip: Avoid cleaning your windows in direct sunlight, as this can cause streaking.
Step 6: Clean the Floor Mats
The floor mats are often the dirtiest part of the interior, as they collect dirt, mud, and moisture from shoes. You can wash interior car mats by shaking them out and then using a vacuum to remove loose debris. For deep cleaning, you may want to wash them with soap and water or a specialized carpet cleaner.
For rubber mats, you can simply hose them down and scrub with a brush to remove dirt. For carpet mats, you may want to use a steam cleaner or a carpet shampooer to lift out stains and grime.
Once the mats are clean, leave them to dry thoroughly before placing them back into the car.
Step 7: Clean the Air Vents
Car air vents are notorious for collecting dust and debris. To clean them, you’ll need a small brush (like a paintbrush or detailing brush) and some compressed air (optional). Gently brush the dust out of the vents and use compressed air to blow out any stubborn particles. Be careful not to damage the vents or force air into the wrong direction.
Step 8: Deodorize and Apply Protectant
After cleaning all the surfaces, it’s time to deodorize your car and apply protectants to preserve your hard work. For deodorizing, you can use a car-specific air freshener or odor eliminator. Be cautious with heavy scents, as they can become overwhelming.
For the seats, dashboard, and other surfaces, apply a protectant. Protectants help to shield against UV rays and prevent damage to leather, vinyl, and plastic surfaces. Look for a product that is suitable for your car’s interior material.
Step 9: Final Touches
Once you’ve cleaned all the major surfaces, go over the car one last time with a microfiber cloth to wipe up any streaks or residue. Make sure all surfaces are dry, and check for any spots you may have missed.
Takeaway
Learning how to detail car interior is a rewarding and useful skill, and the process doesn’t have to be overwhelming. By following these steps, you’ll be able to maintain a clean, fresh, and well-protected interior. Whether you’re looking for a car interior cleaning company in Richmond, VA or simply want to DIY, the techniques and tips provided in this guide will help you achieve professional results.
For those looking for a little extra help, you can always rely on the best car detailing in Richmond, VA or a headlight restoration company in Henrico, VA to take care of all your vehicle’s needs. Whether it’s the interior or the exterior, professional detailing services can ensure your car looks as good as new!
Frequently Asked Questions About Detailing Car Interiors
Q: How to detail a car interior yourself?
To detail your car interior yourself, start by vacuuming all surfaces, followed by cleaning the dashboard, seats, and windows. Use appropriate cleaners for different materials (e.g., leather, vinyl, or fabric), and finish by applying protectants and deodorizing.
Q: What to use to clean car interior?
Use an all-purpose cleaner for most surfaces, and specialized cleaners for leather, fabric, and vinyl. Microfiber cloths, brushes, and a vacuum cleaner are essential tools to help with the cleaning process.
Q: What is best to clean a car interior?
The best products for cleaning car interiors depend on the material of your seats and surfaces. For general cleaning, a quality all-purpose cleaner works well. For leather seats, use a dedicated leather cleaner, and for carpets or fabric, an upholstery cleaner is ideal.


